Add a little wind beneath your kiddos wings with this fun bird wings craft. This spring we saw a hawk swoop down and grab some lunch (a mouse maybe?) from a leaf pile. It was the highlight of the morning for Lydia and Zoe. And it was the catalyst for our bird wings craft project… We headed over to pinterest for inspiration and found this project by Stephanie at Parenting Chaos to get us started.
What you need
- Paper bag (recycle!!)
- Large cardboard box (recycle!!)
- Tempera paint or similar
- Paper plate for paint pallete
- Paint brush(es)
- Scissors
- Glue – we used hot glue to make things go faster
- Ribbon or fabric to attached wings to arms
- Velcro (optional to make it easier for your little ones to attach the wings)
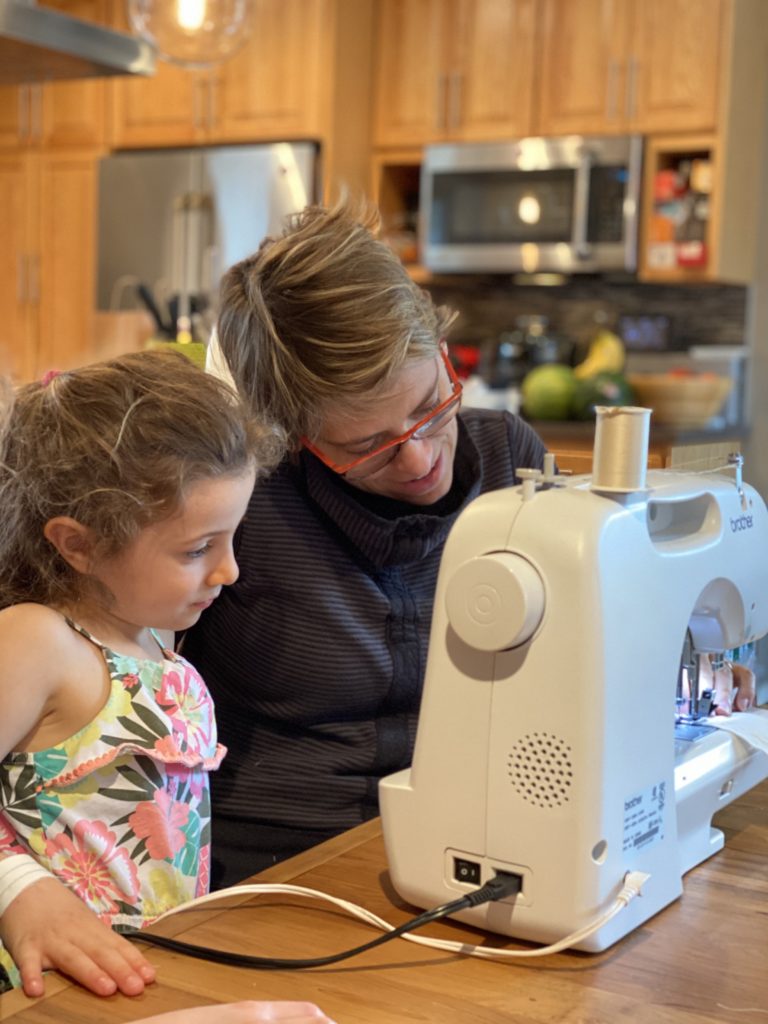
- Sewing machine (optional if you want to attached velcro to ribbons for bird wing arm fasteners)
What we did
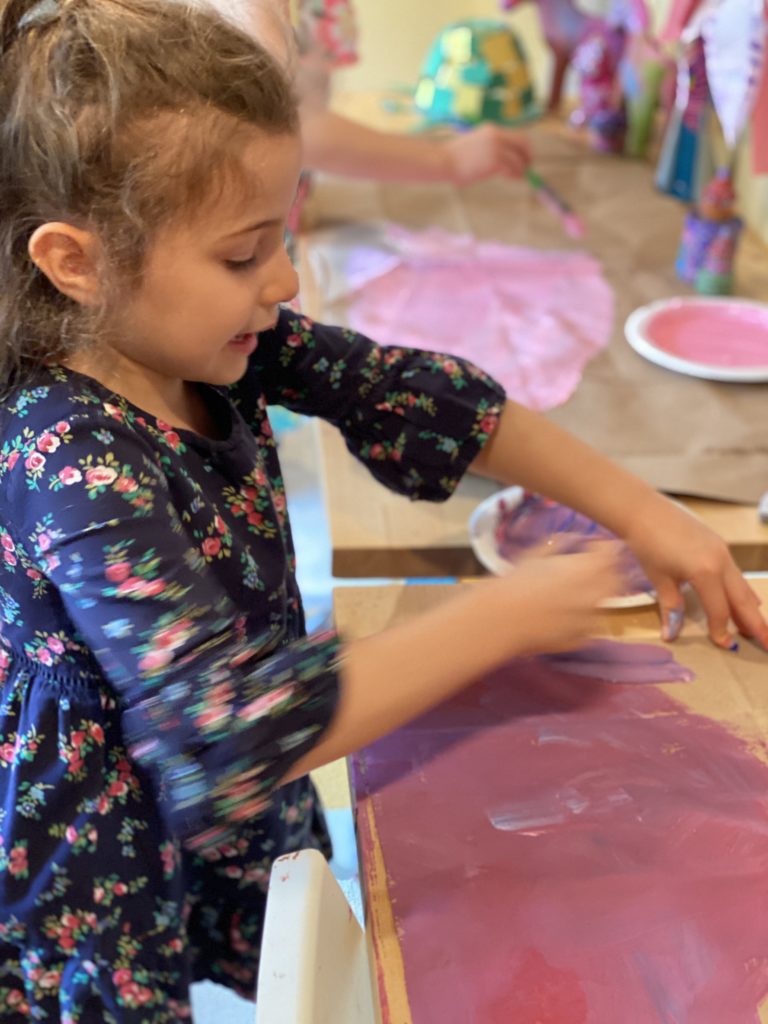
Start by cutting the paper bag so that it lays flat. Then paint one side of it. We picked pink and purple.
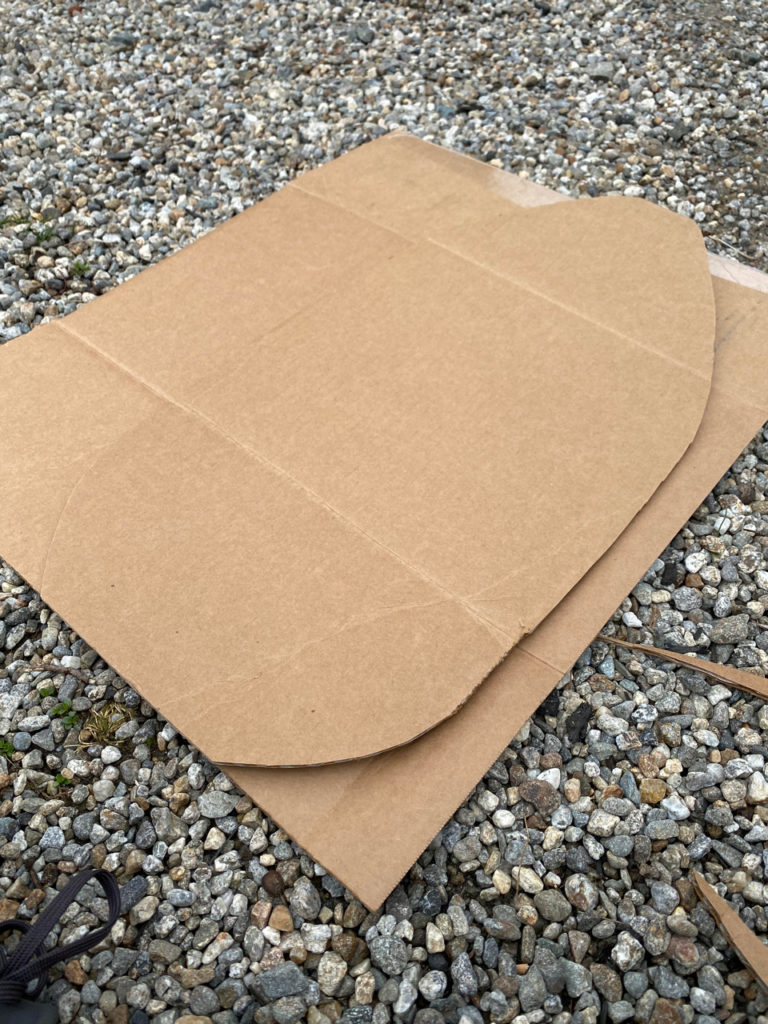
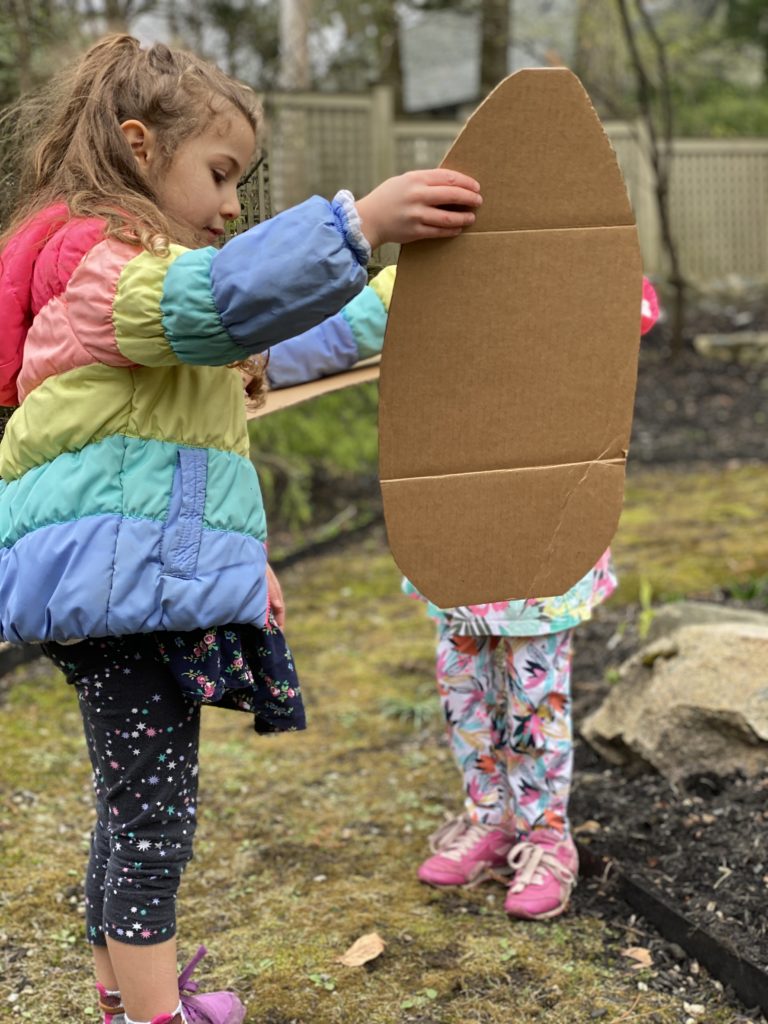
While the paint dried we headed out to our recycle bin to grab a few boxes to cut into wing shapes.
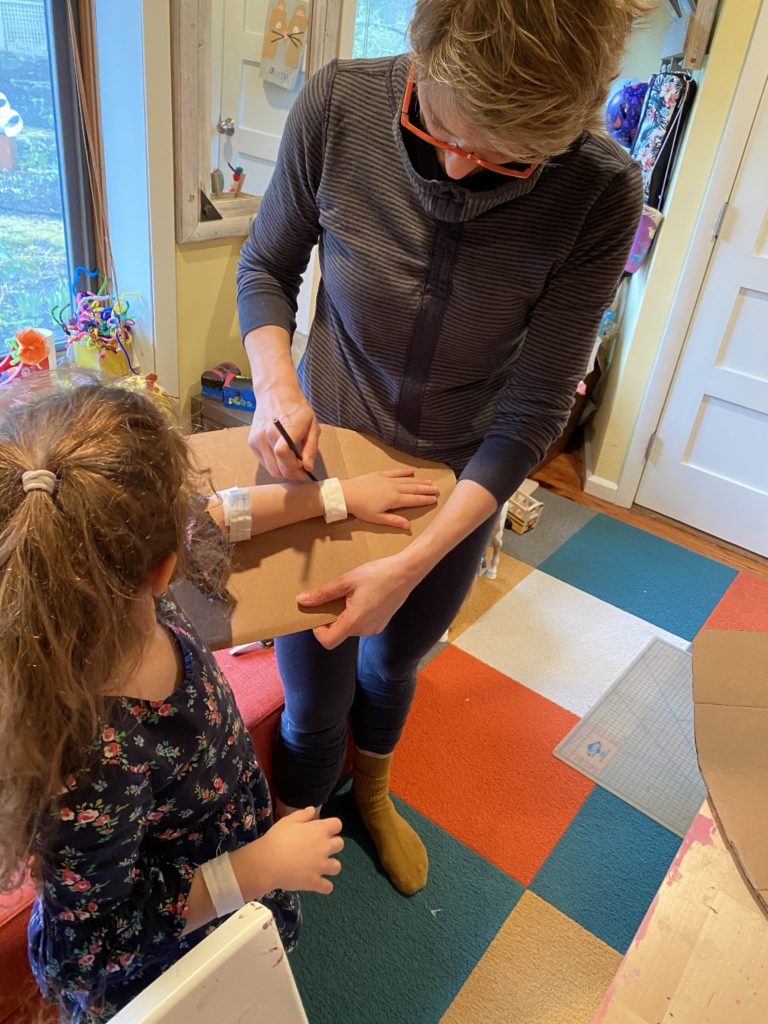
Once you have your bird wings cut out then head back inside to attach your “arm to wing” fasteners. We decided to make ours with fabric and velcro, but you can easily use a long length of ribbon and tie them into place.
We cut the fasteners slightly longer than bracelet length. This allows for it to feed through slots in the wing and still have room to velcro together. If you are using ribbon, then make sure you cut them long enough to tie a nice size bow.
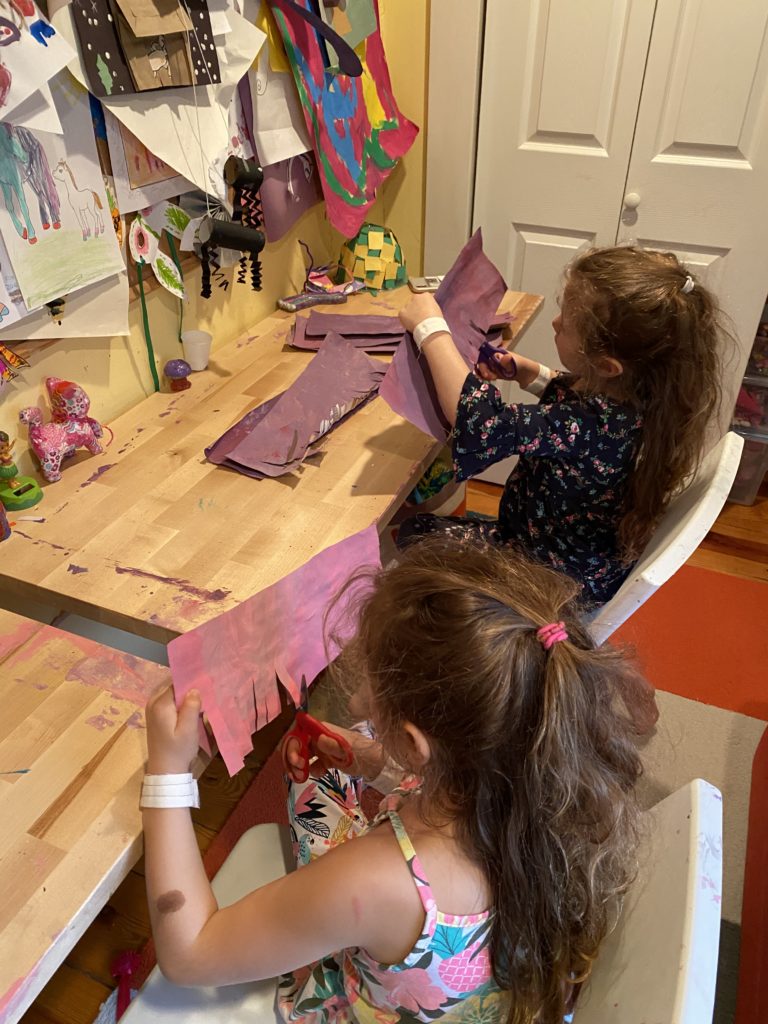
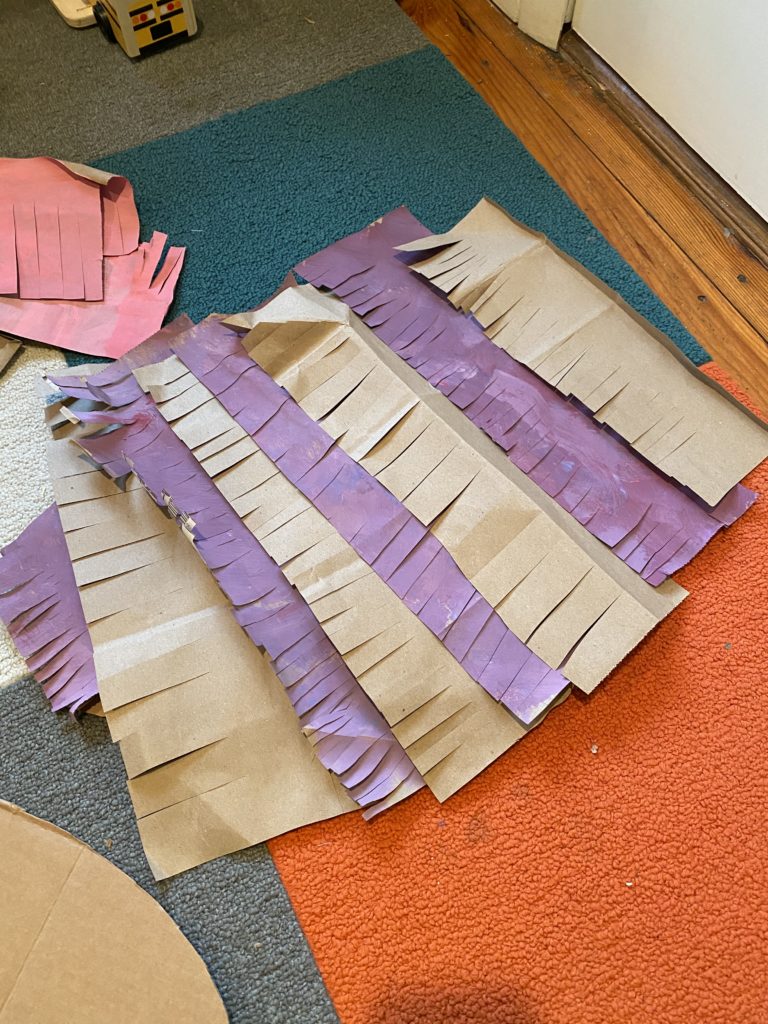
Now on to the feathers. Once dry cut the painted bags into long strips a little longer than the width of your wings, then cut strips with a simple fringe pattern. No need to be perfect.
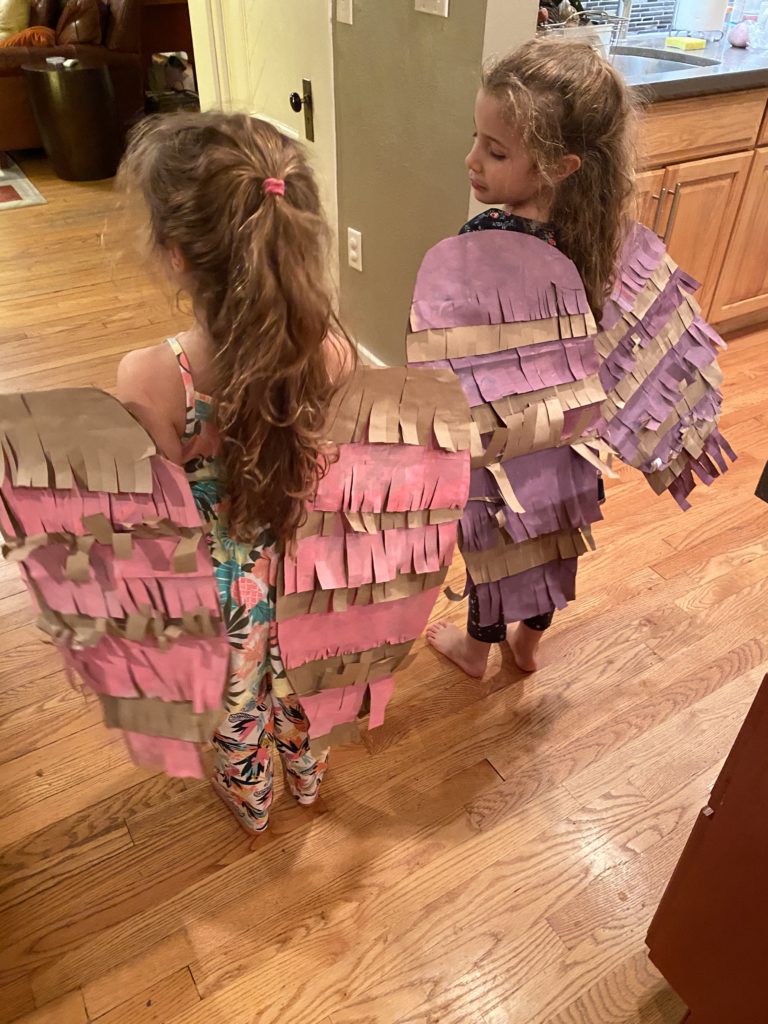
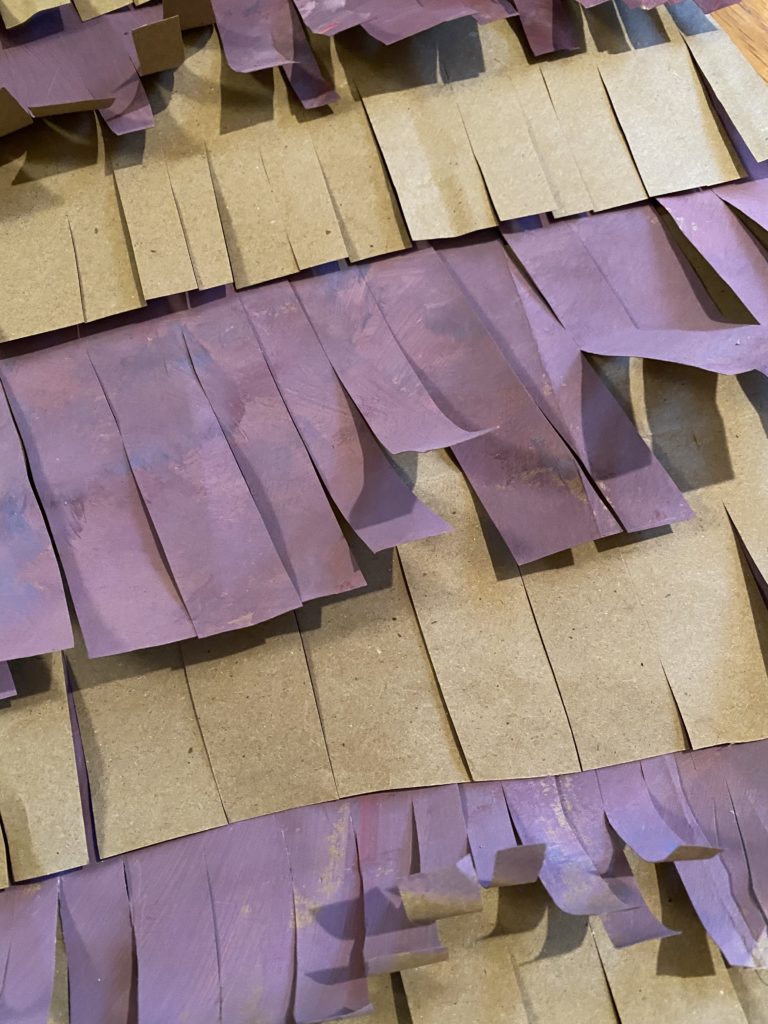
Now for the fun part… Lay out the feather fringe out on top of your wings and glue the strips down. Start at the bottom and then layer the strips on until you get to the top. We ran out of painted paper bag strips so quickly improvised by layering in one strip of unpainted paper bag between each of the colored strips (when crafting with kids you have to be nimble!!).
Once attached, curl the fringe up to create feather texture.
Once glued down, then trim the edges to match that of the wing.
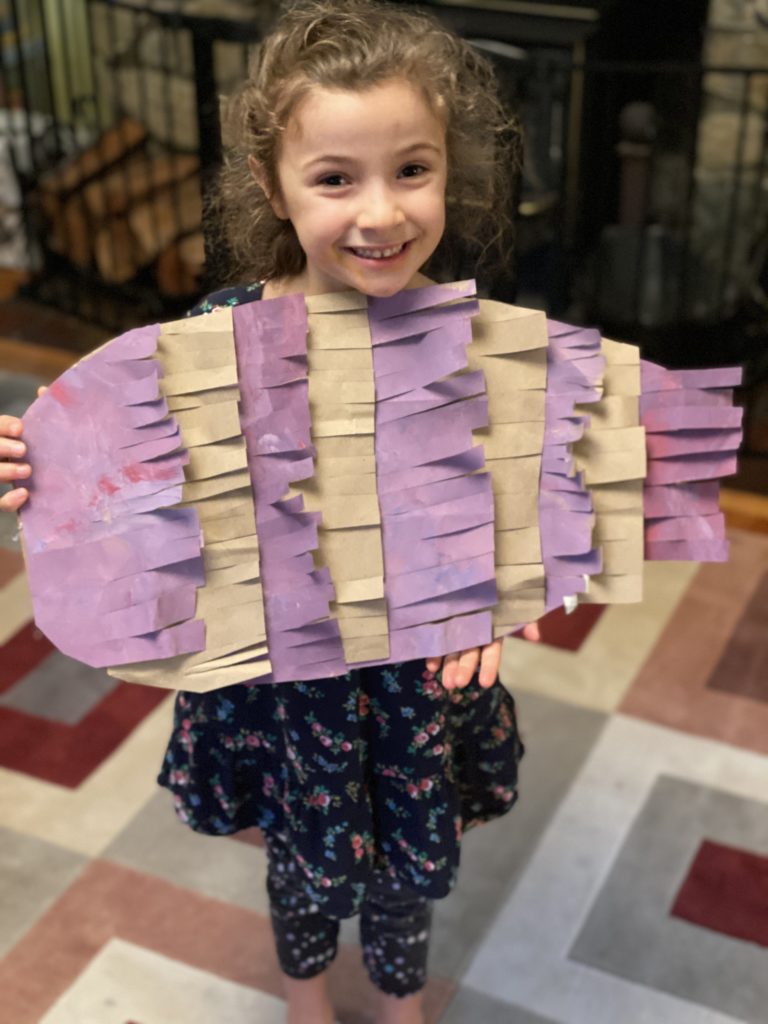
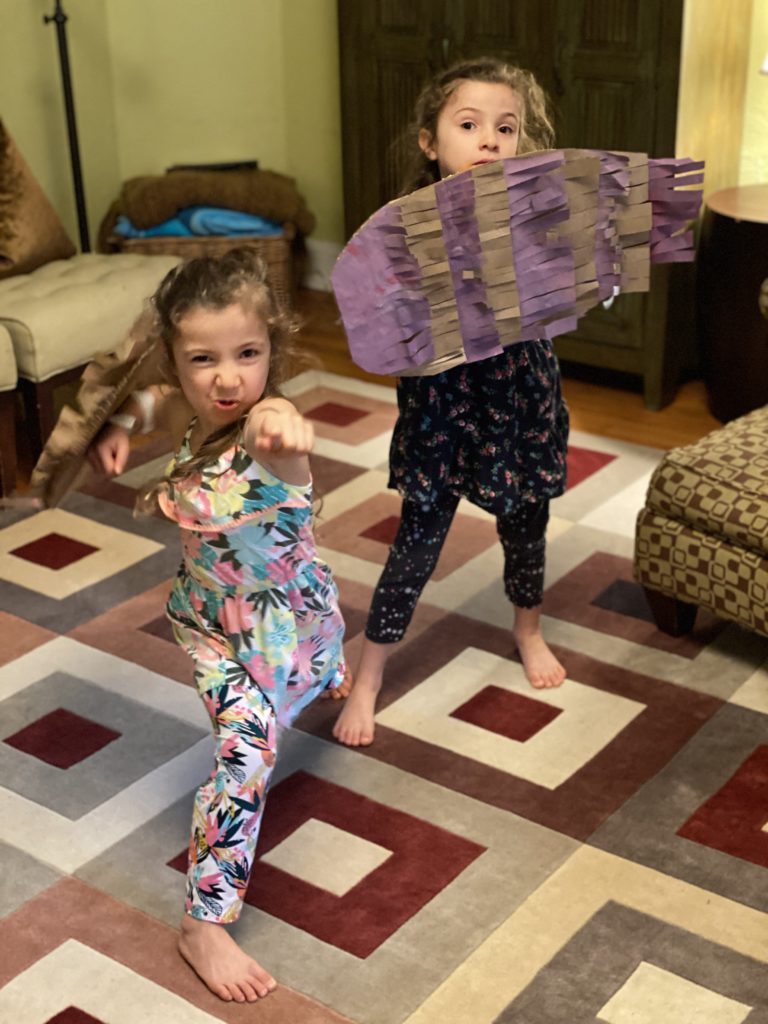
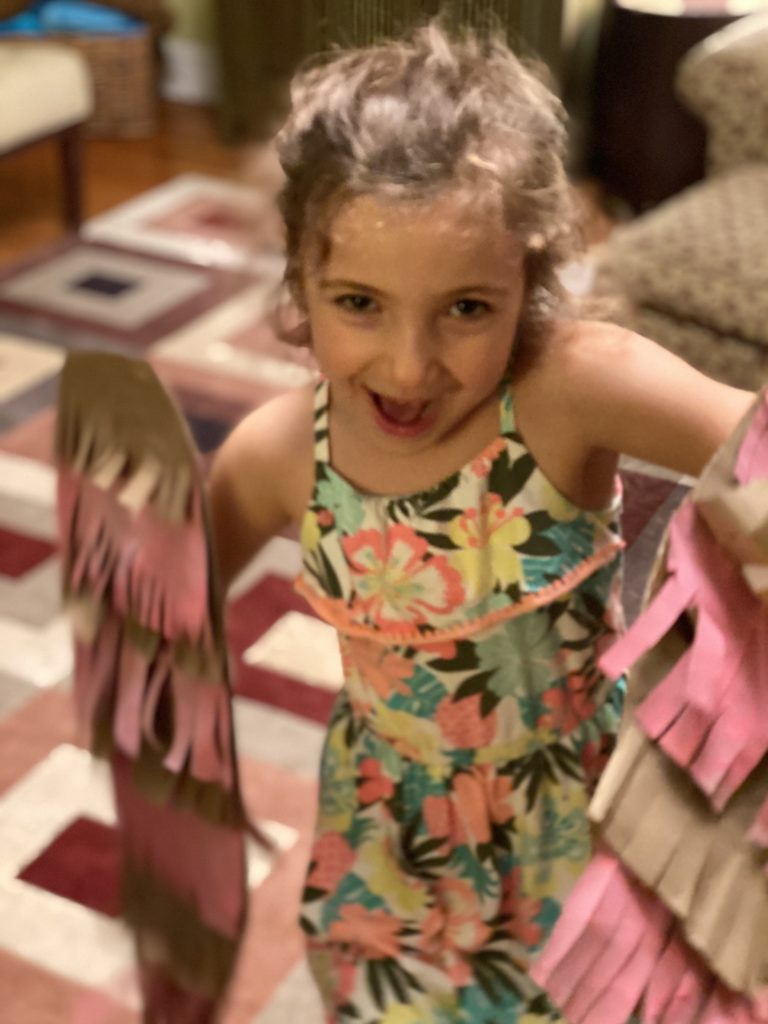
And you are done. The sky is the limit for make believe play!
What we thought
The girls LOVED the final bird wings and played with them non-stop for days. And we saved them to play more in the coming weeks. We did the project over the course of the day as it’s fairly time consuming. This one is not for the faint of heart when it comes to crafting.